badboy81
-
Gesamte Inhalte
148 -
Benutzer seit
-
Letzter Besuch
badboy81's Achievements
Benutzer (2/6)
-
Spartans - what is your profession?
badboy81 antwortete auf GabbaGandalf's Thema in Schlachtberichte
Der kann schon richtig rocken, ist aber nicht unkompliziert zu spielen. Ich habe neulich ein Turnier damit gewonnen. Große Einzelmodelle sterben in der Regel auf einmal, wenn der Block rankommt, Elfen sind auch leichte Beute mit den wiederholbaren Atemwaffen,... Der Block bunkert halt auch extrem viele Punkte an die der Gegner nicht so leicht rankommt.- 181 Antworten
-
- 1
-

-
- 9th age
- dunkelelfen
- (und 4 weitere)
-
Spartans - what is your profession?
badboy81 antwortete auf GabbaGandalf's Thema in Schlachtberichte
Zwecks Bilder hochladen: Ich hänge sie immer unten über die Funktion an. Dann tauchen alle Bilder geballt am Ende des Berichtes auf. Wenn man dann den Bericht nochmal editiert kann man sie einfach per drag & drop an die gewünschte Stelle ziehen. Probiers einfach mal aus. Gruß Moe- 181 Antworten
-
- 1
-
-
- 9th age
- dunkelelfen
- (und 4 weitere)
-
Klassisch: High Risk - High reward Und ist schon deutlich anspruchsvoller zu spielen als mit Pendel und Dämon. Aber unbeweglich. Die Räder sind deutlich mobiler. Ein totemic summon das durchkommt räumt alle jezails ab, die Räder aber nicht.
-
Bin sogar am überlegen, eine dritte Disciple Einheit mitzunehmen. Werd aber erstmal 5 Vermin Hulks probieren, um noch einen Scorer mehr dabei zu haben. Außerdem fliegen die Jezails raus und es kommen wieder 2 Räder rein. Mal schauen, die nächsten 4 Ligaspiele bringen sicher etwas Erfahrung, ob das gut ist oder nicht.
-
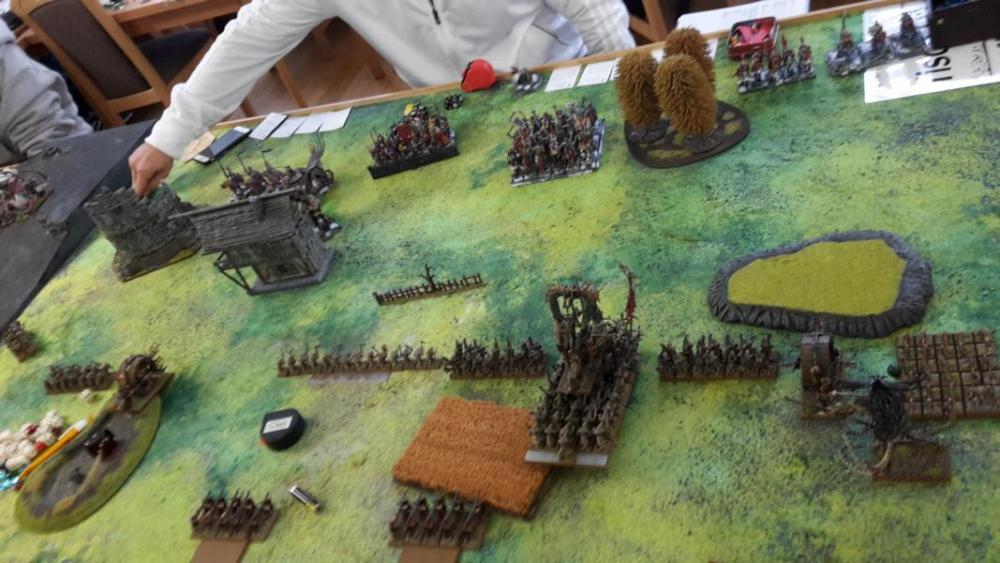
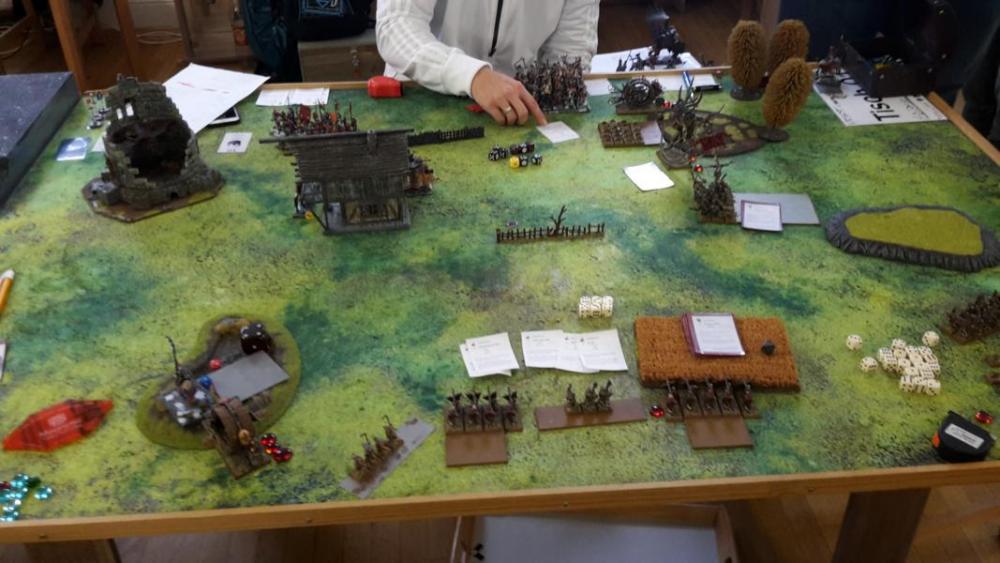
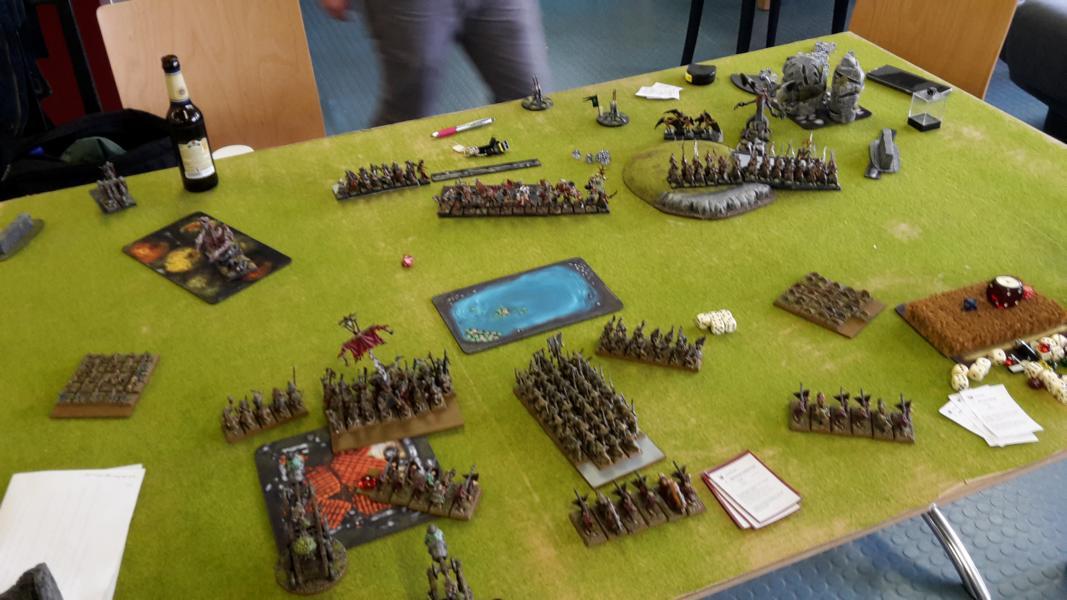
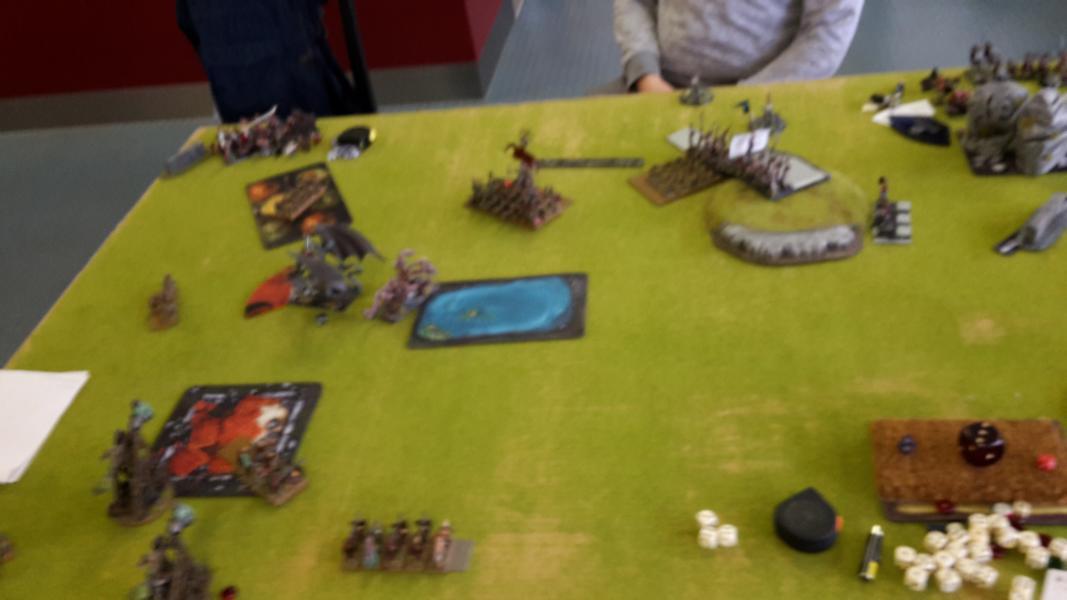
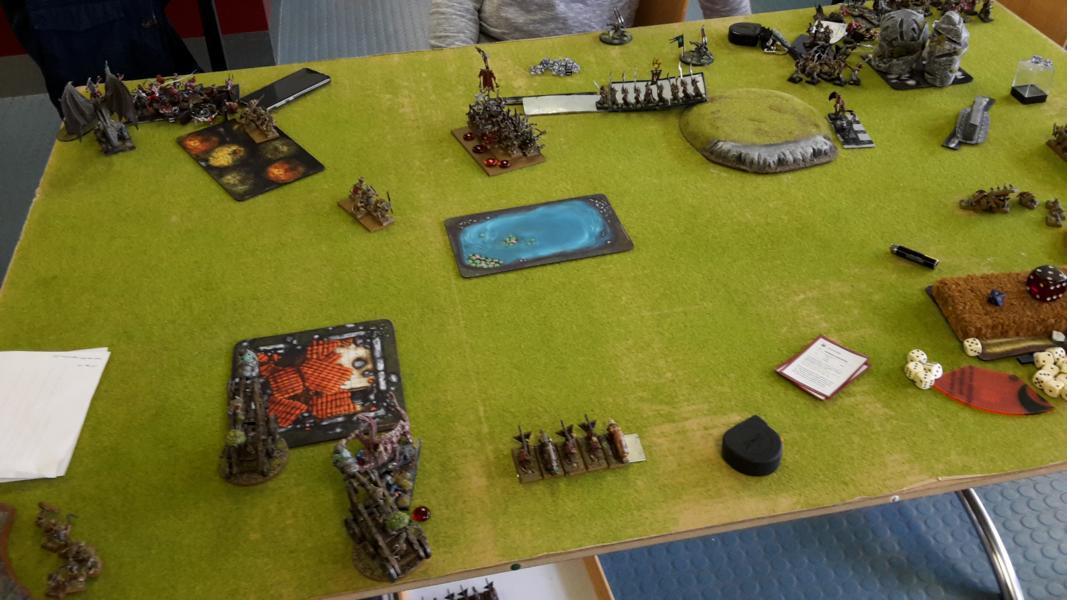
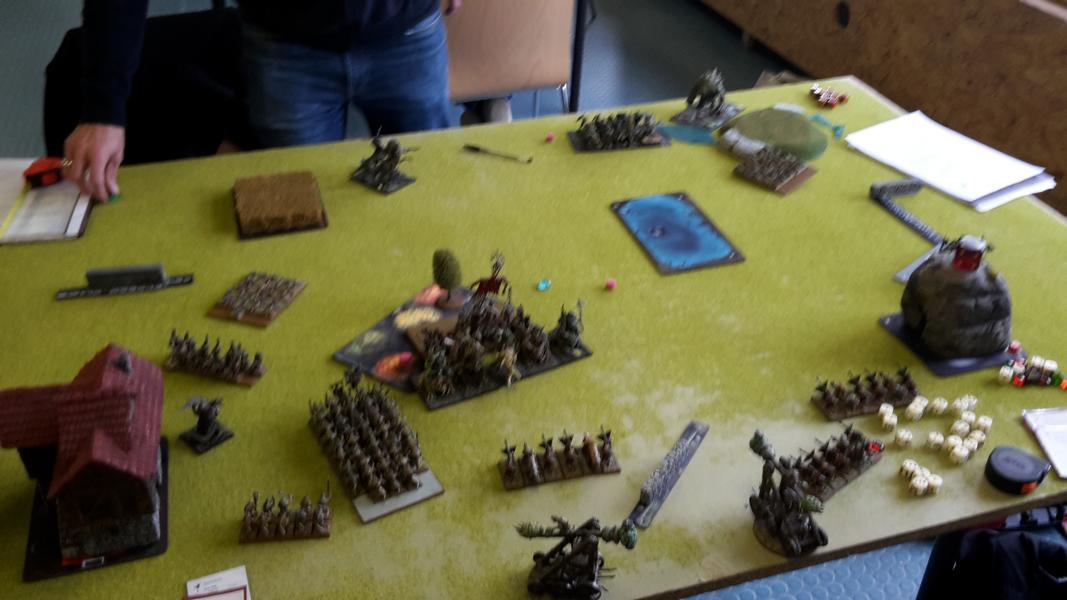
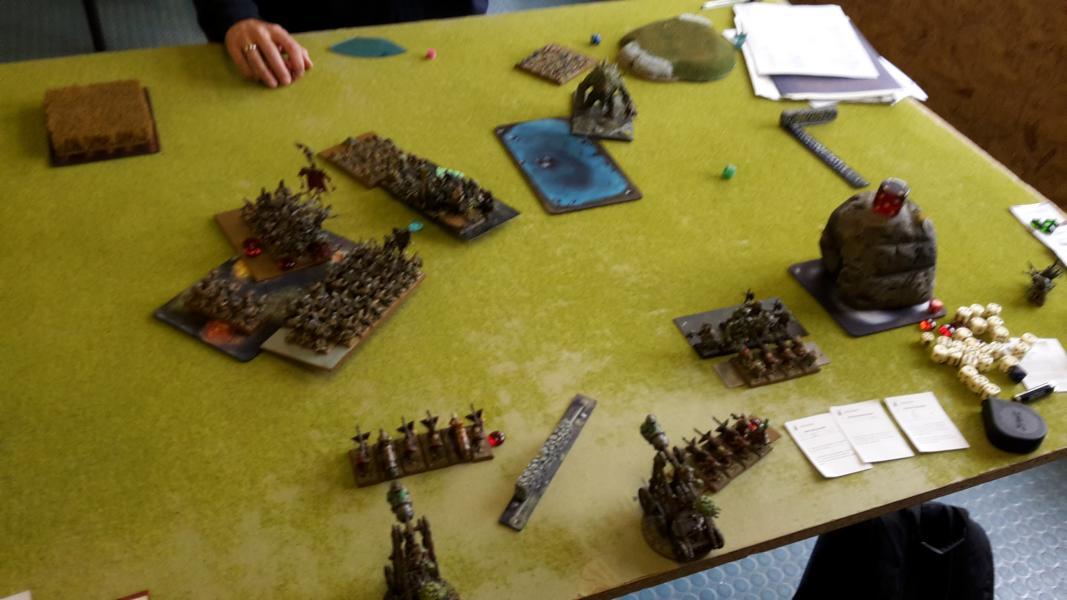
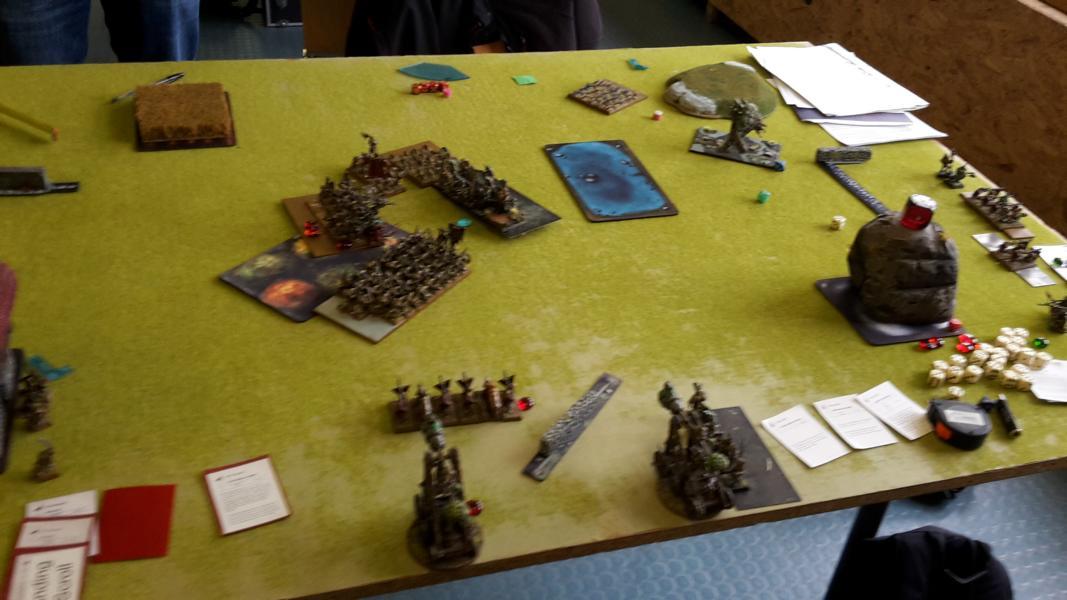
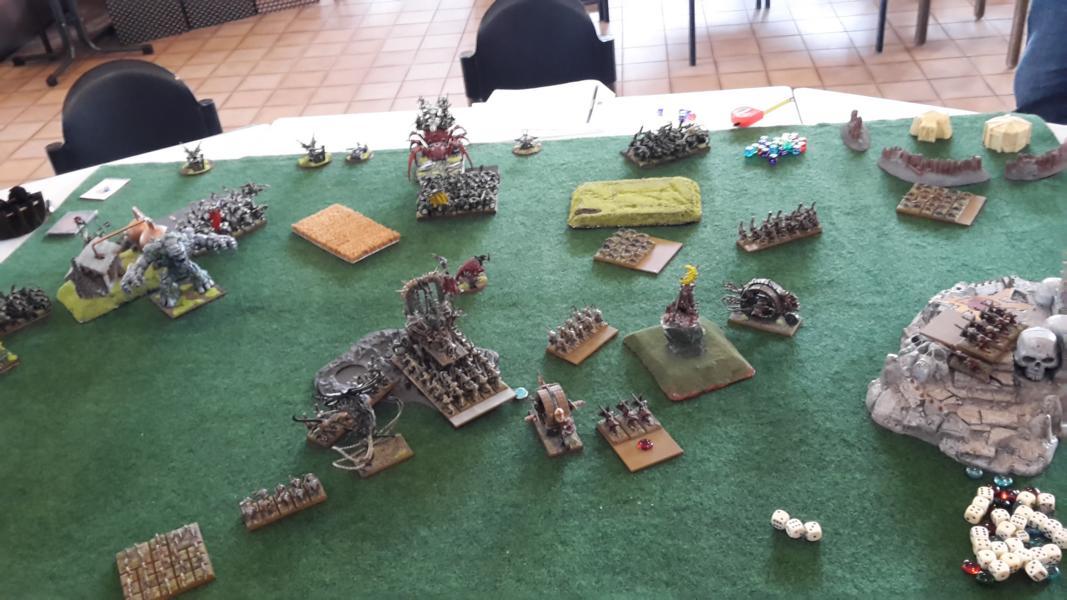
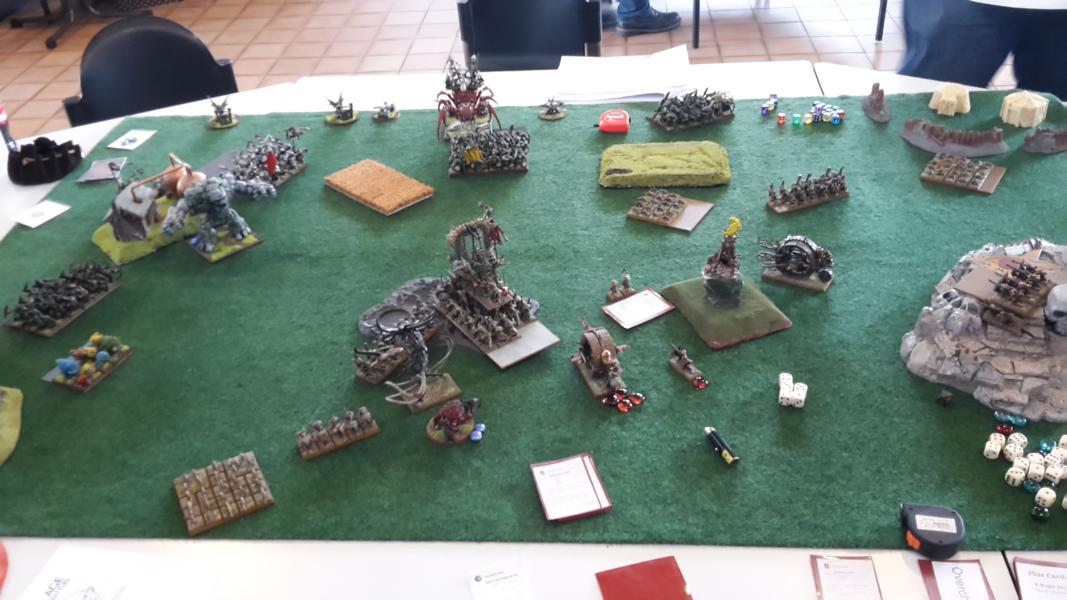
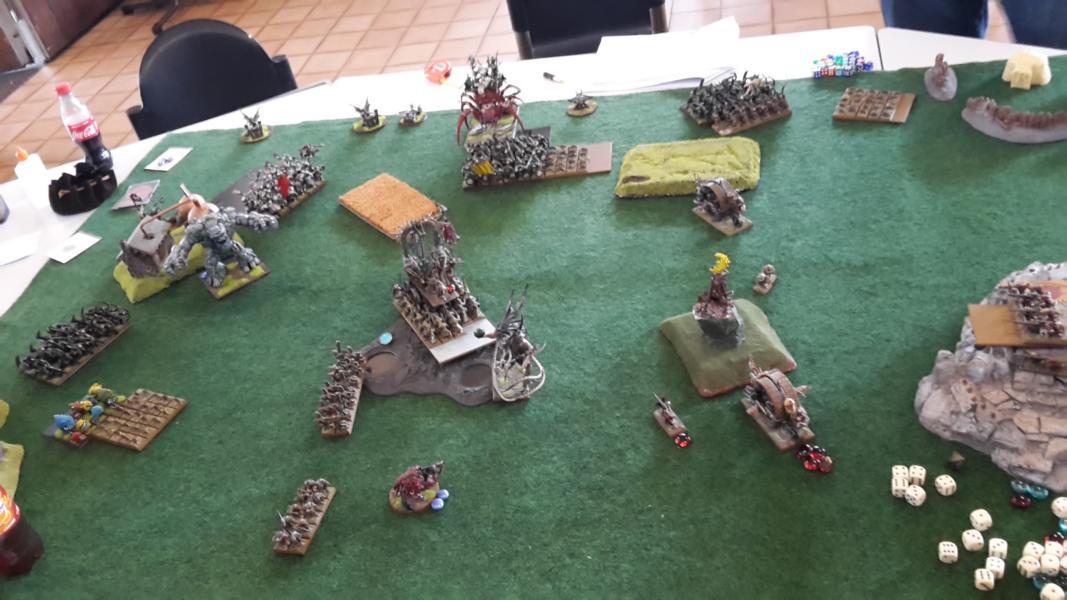
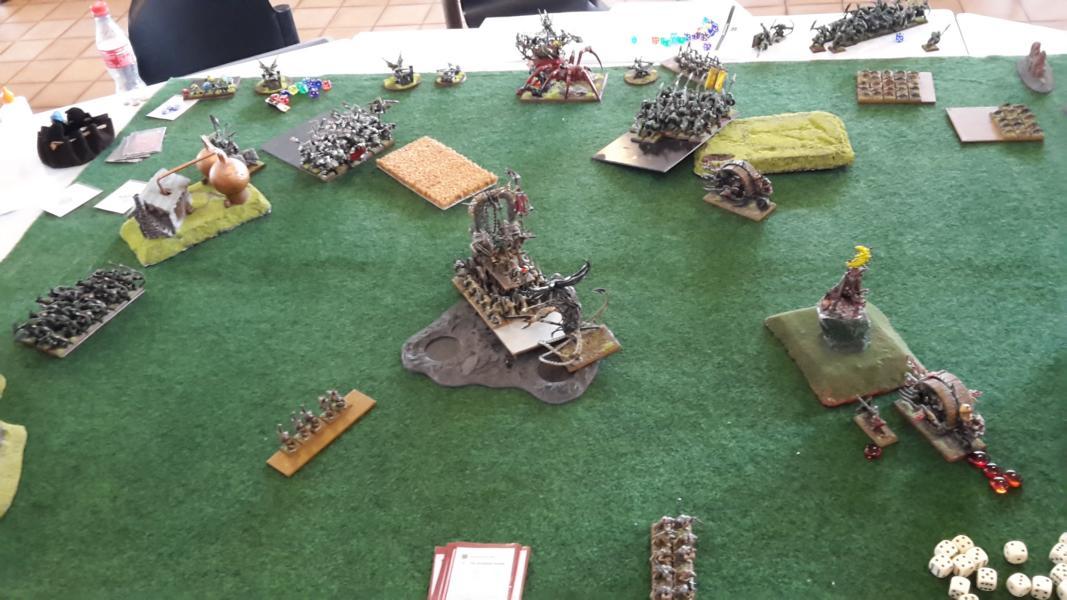
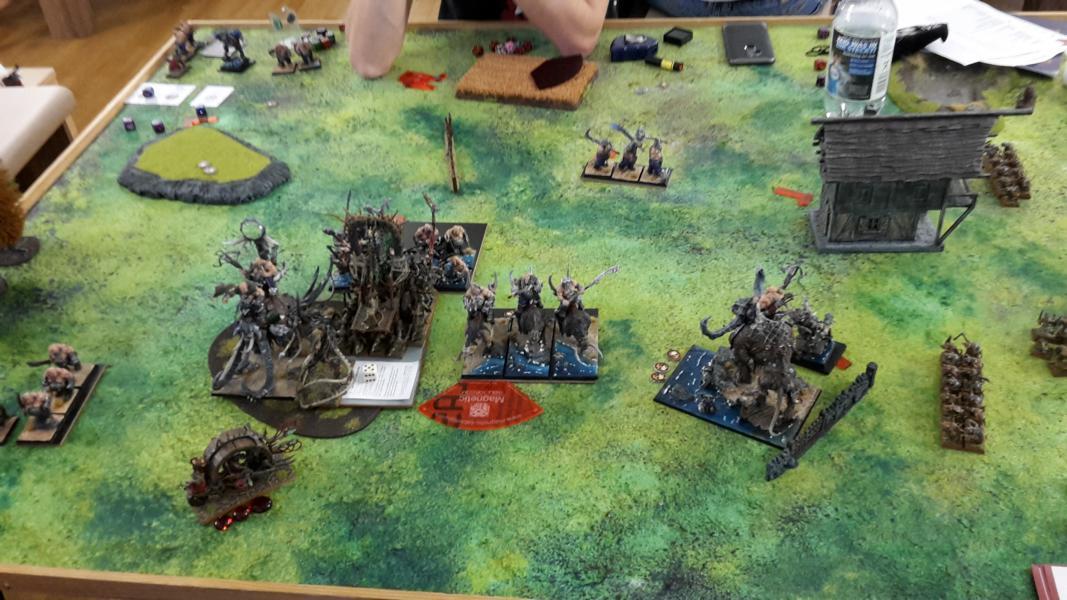
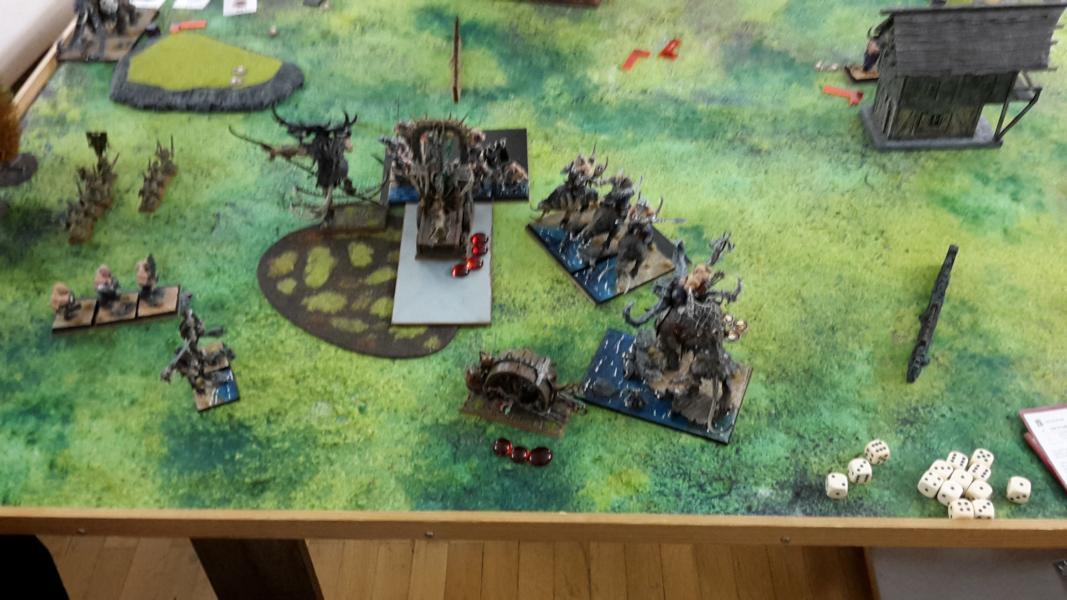
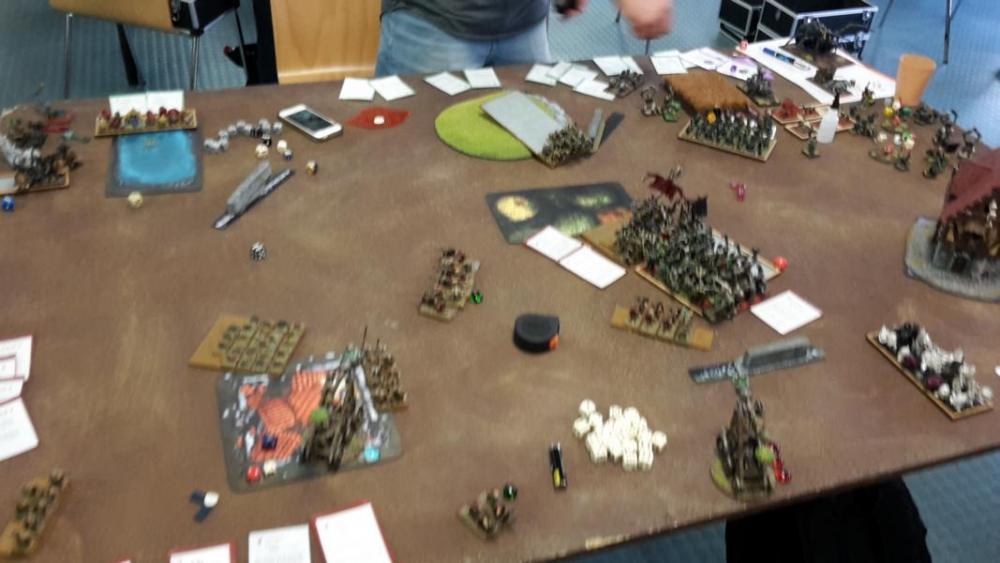
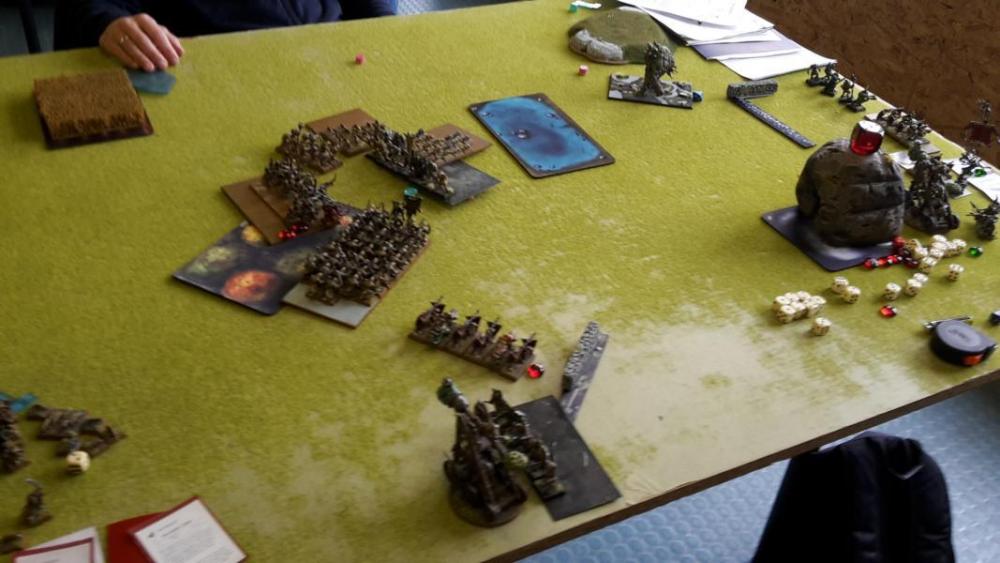
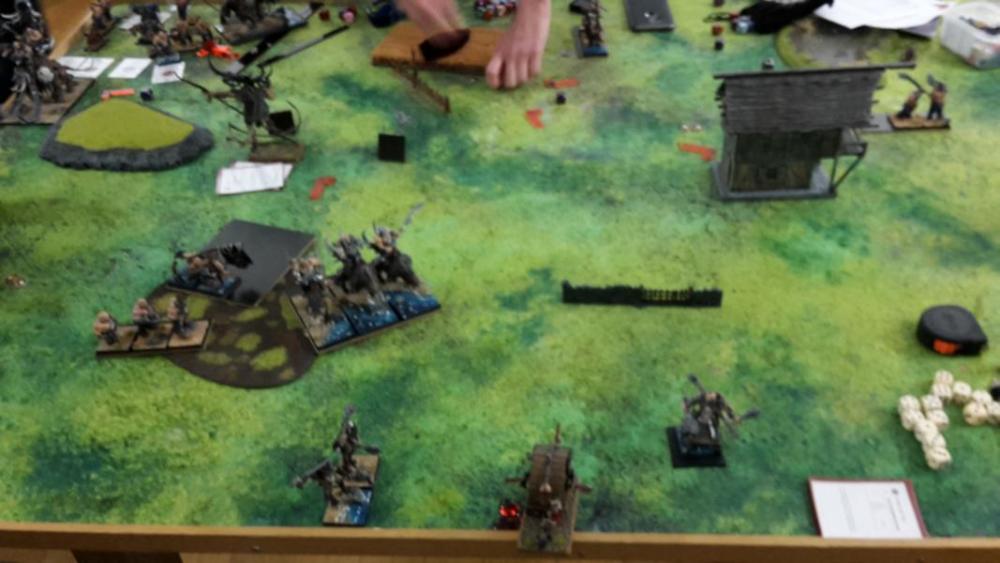
4500 Points vs. 2-Green-2-Stop-Killing with O&G My List: Tyrant, General, Ratlock Pistols Chief, BSB, Light Armour, Ratlock Pistols, 2x Banner of the Relentless Company Chief, Light Armour, Ratlock Pistols Chief, Light Armour, Ratlock Pistols Chief, Light Armour, Ratlock Pistols Machinist, Ratlock Pistols, Binding Scroll Machinist, Ratlock Pistols, Binding Scroll Plague Patriarch, Wizard Adept Occultism, Plague Flail, Magical Heirloom Magister, Wizard Adept Witchcraft, Swarm Master 10 Footpads, M 10 Footpads, M 25 Giant Rats 26 Giant Rats 45 Plague Brotherhood, CSM 14 Plague Disciples, C 14 Plague Disciples, C 6 Jezails 6 Jezails 5 Jezails Plague Catapult Plague Catapult 2-Green-2-Stop-Killing s’ List: Orc Shaman, General, Wizard Master, Shamanism, Magical Heirloom, Boar Chariot, Paired Weapons, Death Cheater Orc Chief, BSB, Heavy Armour, Pan of Protecting Pinchin, Rending Banner Goblin Shaman, Wizard Adept, Pyro, Wolf Chariot, Binding Scroll Goblin Shaman, Wizard Adept, Witchcraft, Wolf Chariot, Skull Fetish, Alchemists Alloy Goblin Chief, Light Armour, Shield, Cave Gnasher, Lance, Basalt Infusion, Lucky Charm 37 Feral Orcs, CSM, Shield 45 Cave Goblins, CSM, Shield, Banner of the Relentless Company Gnasher Wrecking Team Gnasher Wrecking Team 25 Gnasher Herd 28 Gnasher Herd 6 Feral Orc mounted Edbasher, Light Armour, Shield, Light Lance 3 Grotlings 3 Grotlings Scrap Wagon Gargantula Deployment: Refused Flank Secondary: Capture the Flag O&G f.l.t.r.: Grotlings, Hero on Gnasher, mounted Edbasher, Snotlings, Scrap Wagon, Gargantula, Gnasher, Gobbo Mage on Chariot, Gobbo Mage on Chariot, Cave Goblins, Feral Orcs + BSB, Orc Shaman on Chariot, Gnasher VS f.l.t.r.: Giant Rats, Catapult, Footpads, Jezails, Disciples, Monks, Dicsiples + Chars, Jezails, Catapult, Jezails, Giant Rats Round 1 VS: I push forward in the centre. My disciples charge the grotlings. In magic I kill one wrecking team and some gnashers. The shaman behind passes his panic check. Shooting brings the second wrecking team down to 1 HP. In combat I easily kill the grotlings. Round 1 O&G: (no picture) I did not see that the gnasher could attack my monks. The do so that might cause some trouble. Else the cave goblins come forward and release their gits through my bus and kill a lot of disciples. The second gnasher unit moves around the building and the feral orcs come forward. Magic now kills all but 2 disciples in my bus as I scrolled the totemic summon. In combat I loose a lot of monks but am still steadfast and hold. Round 2 VS: My giant rats on the left charge the second unit of grotlings. Same move like before: Positioning of the second disciple unit and moving all characters in. On the right my giant rats chaff the feral orcs. The last disciples sacrifice themselves and run on the wrecking team. Here I was afraid I could not shoot the last HP in the shooting phase so I went the save way. Magic and shooting brings the gargantula down to 3HP and kills the scrap wagon. I also shoot off one mounted edbasher. In combat the gnashers don’t hit and wound good enough and I do very good and win by one. So they explode. My giant rats also beat the grotlings and run off the table. Round 2 O&G: The ferals charge my chaffing giant rats. Else the goblins move up a little and the gargantula turns around. The mounted edbashers come forward to the wall and the gnasher hero towards the ruin. In magic I scroll again the totemic summon and dispel the ravens wing on the gargantula. In combat the ferals win easily and have to persue me. Round 3 VS: My giant rats come back and move towards the mounted edbashers. My monks move out of LOS of the cave goblins and my jezails do so with the feral orcs. Magic and shooting now kill the witchcraft shaman and the gargantula. Round 3 O&G: The mounted edbashers charge the flank of my monks and the gnasher hero my jezails in the ruin. The ferals turn around facing the jezails who fled from the gnashers last turn. Magic brings a totemic now in the left corner where I kept my scoring footpads but it is not able to panic them. In combat the gnasher hero breaks my jezails but looses 2HP in return. He decides not to persue (DT test). The mounted edbashers only kill 2 monks, break from combat and are run down by the monks. Round 4 VS: My bus charges the cave goblins and my giant rats the rear of the gnasher hero. On the right my jezails chaff the ferals. In shooting my 2 units of footpads luckily shoot of the totemic summon. In combat my opponent rolls a break test and passes it on second try so we have to see if he is still stubborn after fighting. In the end 2 of 39 cave goblins survive and then run. My persue roll shows an 11 so I am in the flank of the ferals. The giant rats kill also the gnasher hero. Round 4 O&G: Not much left. The gnashers fail with triple 1s their charge roll on the catapult. The fight with the ferals ends with 4 ferals + bsb left and my opponent holds on steadfast. We now have to end as time is up. In the end it’s then a 18:2 victory which gives me first place!


-
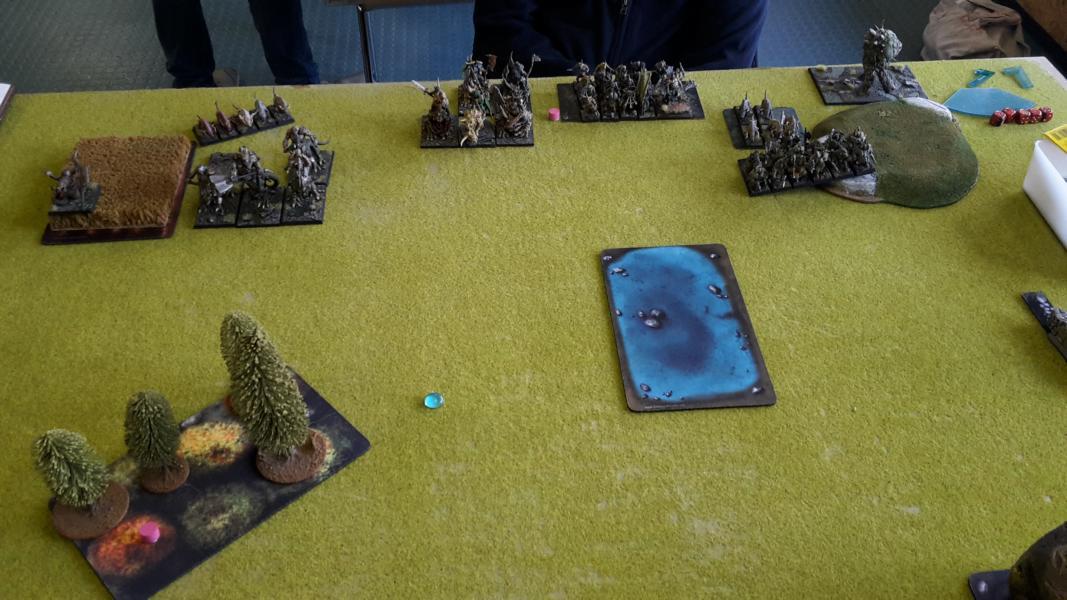
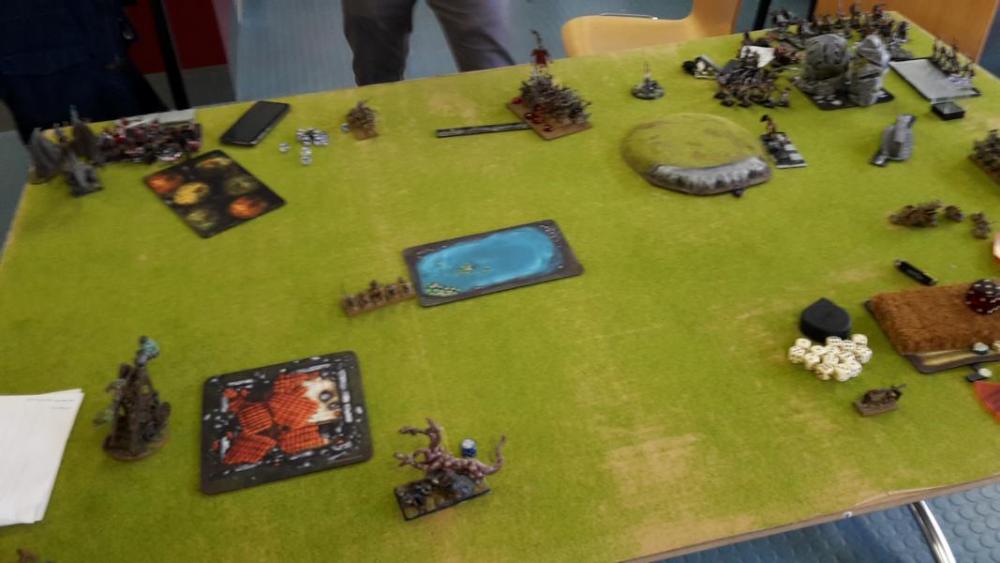
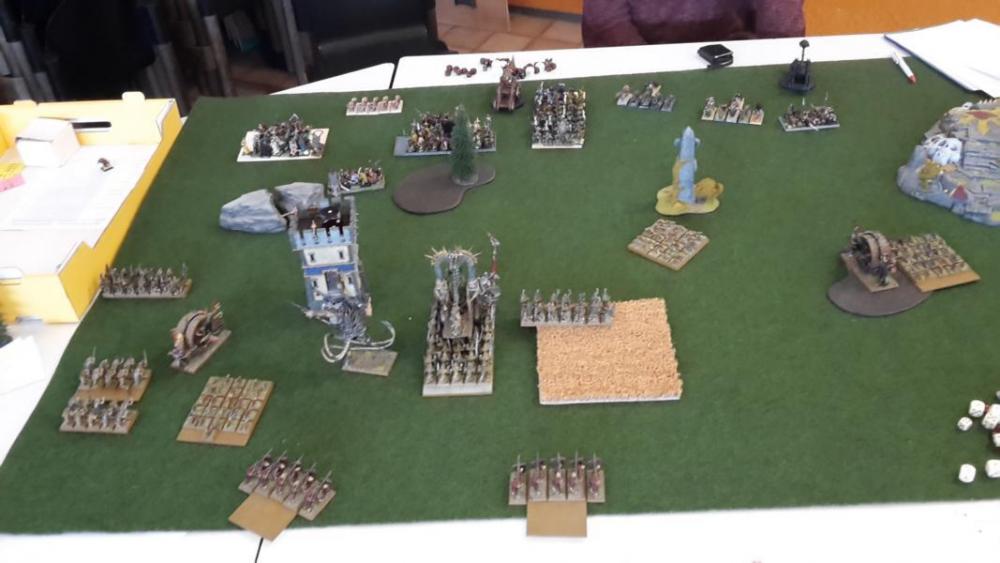
4500 Points vs. “Lifetaker” with DE My List: Tyrant, General, Ratlock Pistols Chief, BSB, Light Armour, Ratlock Pistols, 2x Banner of the Relentless Company Chief, Light Armour, Ratlock Pistols Chief, Light Armour, Ratlock Pistols Chief, Light Armour, Ratlock Pistols Machinist, Ratlock Pistols, Binding Scroll Machinist, Ratlock Pistols, Binding Scroll Plague Patriarch, Wizard Adept Occultism, Plague Flail, Magical Heirloom Magister, Wizard Adept Witchcraft, Swarm Master 10 Footpads, M 10 Footpads, M 25 Giant Rats 26 Giant Rats 45 Plague Brotherhood, CSM 14 Plague Disciples, C 14 Plague Disciples, C 6 Jezails 6 Jezails 5 Jezails Plague Catapult Plague Catapult Lifetakers List: Captain, BSB, Fleet Commander, Hevy Armour, Shield, Alchemists Alloy, Banner of Gar Daecos Oracle, General, Wizard Master, Occultism, Dragon, Cult of Yema, Moraec’s Reaping, Obsidian Rock, Wandering Familiar Oracle, Wizard Adept, Essence of a Free Mind, Alchemy, Witchcarft 27 Blades of Nabh, CSM, Flaming Standard 5 Dark riders 15 Repeater Auxiliaries, Shield 28 Dread Judges, CSM, Banner of Blood 5 Harpies Dread Repaer Dread Reaper Deployment: Dawn Assault Secondary: Breakthrough DE f.l.t.r.: Dark Rider, Hydra, Repeaters + Oracle, Blades + BSB, Reaper, Reaper, Dread Judges, Dragon, Harpies VS f.l.t.r.: Giant Rats, Jezails, Monks, Disciples, Jezails, Disciples + Chars, Jezails, Catapult, Footpads, Giant Rats Round 1 VS: I move only a little forward. In magic I get a breath weapon, kill 2 dark riders and panic them. Shooting kills some elves. Round 1 DE: The dark riders rally, the rest moves forward. Dragon and harpies stay behind the hill. Magic and shooting kills some disciples. Round 2 VS: As the blades moved a little to far forward my giant rats charge them in the flank. My other giant rat unit charges the dark riders. My bunker moves into shooting range on the auxiliaries. Magic and shooting kills the entire auxiliary unit leaving the mage alone. In combat the dark riders loose and run off the table and also the blades + bsb loose by 5 but hold on a 4. Round 2 DE: (no picture) The dread judges charge the giant rats and kill most of them. They now flee. The hydra charges the flank of the monks but they hold. He moves his mage away but she may not march. The dragoncome further forward. Magic kills some disciples and shooting some jezails who then flee of the table. Round 3 VS: My bus charges the blades in the front and the other disciple unit in the flank. Else I move my footpads a little up on the left flank. With magic I kill the lone sorceress. Shooting takes 1HP from the dragon. In combat I wipe out the unit of blades and decide to not overrun. My monks again hold against the hydra. Round 3 DE: He only charges the dragon in the other flank of the monk unit. In shooting he tries to panic my footpads but does not enough wounds. In combat he breaks the monks now. Round 4 VS: (no picture) I chaff the dread judges with my second giant rats. As my bus died in the last fight, all characters move in the other unit which I move in shooting position first. Magic and shooting only do 3HP to the hydra and 2 to the dragon. Round 4 DE: The dragon charges my footpads who pass their terror check and do 1 wound with their slings. He then fails the charge roll. The dread judges go into the giant rats. The hydra does not want to charge the pistol block with 1 wound remaining and decides to turn around. Magic does not do much also shooting is not impressive this turn. In cc the judges win and my rats run. The judges overrun but not far enough. Round 5 VS: (no picture) I move my bunker in shooting position and kill the dragon. My shooting then is not able to kill the hydra who has 1HP left. Round 5 DE: The judges fail their charge roll but the hydra makes it into the jezails. S&S does 2 wounds but both aegis hold (not on the picture). There is no more magic and shooting again can’t panic my footpads. In combat the hydra wins easily and overruns into a catapult. Round 6 VS: (photo before movement) My bus turns around to the judges and charges their flank. My footpads both go for scoring. In magic I kill of one bolt thrower with my heri. Combat kills my catapult but also all judges die. Now the last bolt thrower can’t see my footpads and I get the secondary. Round 6 DE: The hydra charges the next catapult and kills it. In the end it’s a clear 18:2 win for my vermin swarm.


-
4500 Points vs. “TheHoodedMan” with WodG My List: Tyrant, General, Ratlock Pistols Chief, BSB, Light Armour, Ratlock Pistols, 2x Banner of the Relentless Company Chief, Light Armour, Ratlock Pistols Chief, Light Armour, Ratlock Pistols Chief, Light Armour, Ratlock Pistols Machinist, Ratlock Pistols, Binding Scroll Machinist, Ratlock Pistols, Binding Scroll Plague Patriarch, Wizard Adept Occultism, Plague Flail, Magical Heirloom Magister, Wizard Adept Witchcraft, Swarm Master 10 Footpads, M 10 Footpads, M 25 Giant Rats 26 Giant Rats 45 Plague Brotherhood, CSM 14 Plague Disciples, C 14 Plague Disciples, C 6 Jezails 6 Jezails 5 Jezails Plague Catapult Plague Catapult TheHoodedMan’s List: Exalted Herald Sorcerer, General, Wizard Adept, Evocation, Plate Armour, War Dais, Hero’s Heart, 2x Binding Scroll 20 Warriors, CSM, Greed, Zealots Banner 13 Fallen 5 Chosen Knights, CSM, Sloth, Stalker Standard 5 Feldraks, CSM, Halberd, Flaming Banner 5 Warhounds 5 Warhounds Hellmaw, 2x Ominous Gateway Deployment: Frontline Clash Secondary: Hold the Ground WodG f.l.t.r.: Herald, Hounds, Feldraks, Chosen Knights, Warriors + Sorcerer, Hounds, Fallen, Hellmaw VS f.l.t.r.: Footpads, Jezails, Jezails, Giant Rats, Catapult, Jezails, Catapult, Monks, Disciples + Chars, Footpads, Disciples, Giant Rats Round 1 WodG: The left and right flank comes forward, centre stays back. In magic he forgets to open a new gate, I scroll the comet and he kills some guys with the breath weapon. Round 1 VS: My bus moves into the forest, giant rats and discipes are in counter position. The giant rats on the right and also the footpads there chaff the fallen and dogs. In magic I take 3 wounds with my heri from the feldraks. Shooting on the herald does 2 wounds which he wardsaves both. The catapults kill some warriors. My bus then takes 2 more wounds from the feldraks. Round 2 WodG: The feldraks charge the bus, stand and shoot kills one guy. On the right the fallen charge the chaff and on the left he chaffs me with his hounds. The chosen knights jump through the portal behind my bus. In magic I scroll again the comet and he kills 2 disciples with the breath weapon. In combat I kill another feldrak and take 3HP from another before he swings back and he does only 3 wound. I win big, he runs, I pass my not-persue test and turn around for a beautiful rear charge on the chosen knights. Round 2 VS: The giant rats on the left charge the fleeing feldraks and they flee further. The bus takes the rear of the chosen knights and on the right my giant rats charge the hounds who flee and get caught. Magic and shooting does not much, I think I take 1HP from the herald and some more warriors. In CC I win against the chosen knights by 4 or 5 and they fail their test twice so they flee and I catch them. Round 3 WodG: (no picture) Not much action this turn. The warriors and chosen come forward and the herald flies in a better position. Also the hellmaw comes around the hill. In magic he gets of his heri on the disciples killing my bus. Round 3 VS: I push my second unit of disciples in the forest and all characters go in there. The giant rats on the right walk out of LOS of the hellmaw and the ones on the left go into position. My combined magic and shooting kills the herald and puts 3 wounds on the hellmaw. Round 4 WodG: The fallen charge my jezails and the warriors jump through the portal. I dispel all his spells this turn. The fallen fail against my jezails and do only 3 wounds. I kill 2 fallen in return and stick with double 1s. Round 4 VS: This is the first round someone would pick up a marker for hold the ground. I charge my giant rats in the flank of the warriors to bind them there. Then I move my bus and monks up so we have a tie for the secondary. Then I ravens wing my footpads in range and get the secondary marker no.1. Shooting takes another HP from the hellmaw and kills some warriors when I shoot into combat. My giant rats loose by one but stick, the jezails are killed and the fallen position themselves to charge the first catapult. Round 5 WodG: The fallen now charge the catapult and the hellmaw decides to move away. In magic he casts spectral blades with 5 dice, rolling three 6s so I let it go and his sorcerer dies. In combat he kills my catapult and overruns but not far enough. My giant rats now win the fight by 1 but he sticks. He does not want to reform what is understandable. Round 5 VS: I charge my second unit giant rats in the warriors rear. Magic and shooting take the hellmaw down to 1HP and kill some more warriors. In combat he wins now as he has more attacks to the rear giant rats but both units stick. Round 6 WodG: The fallen go in the second catapult and the hellmaw continues moving away. In combat we stick in the middle and my catapult dies. Round 6 VS: I don’t charge in the warriors fight to have the objective save. In shooting I do 2 wounds to the hellmaw but he rolls double 5s and survives with 1HP In the end I win 14:6 by points and 17:3 after secondary.


-
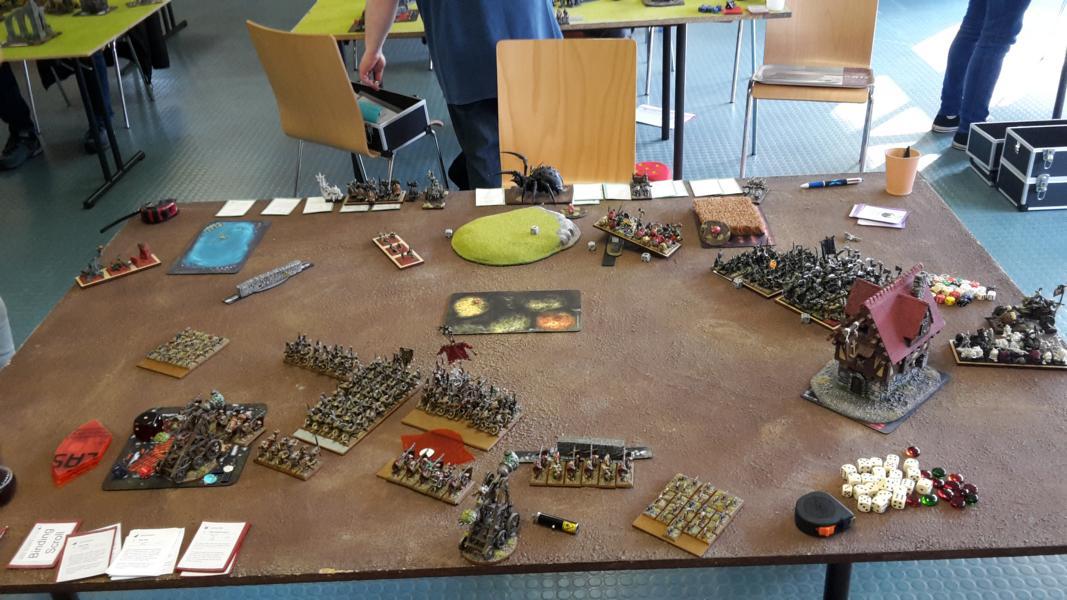
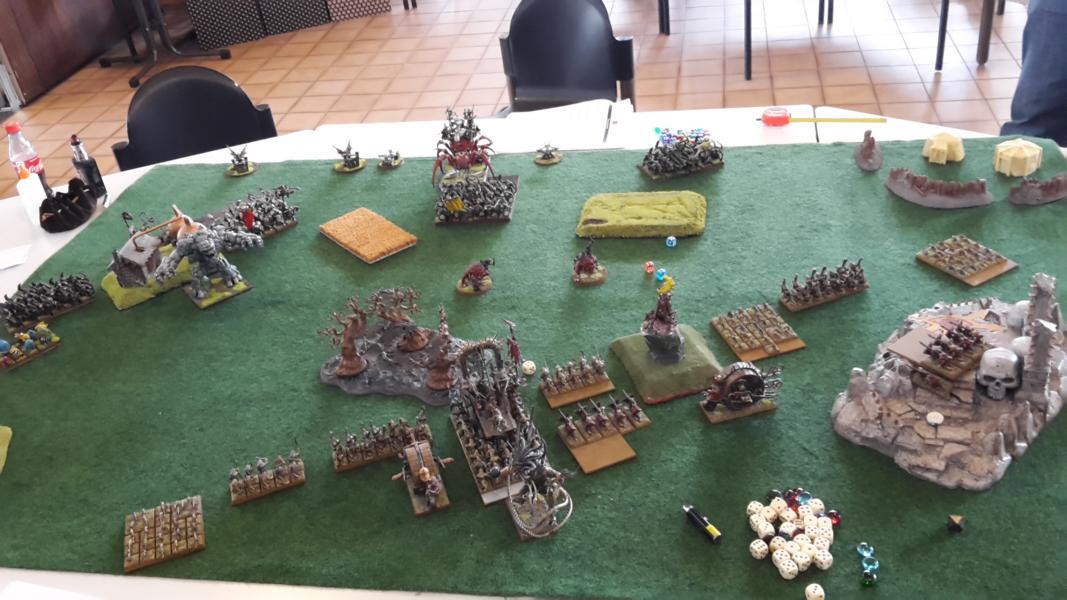
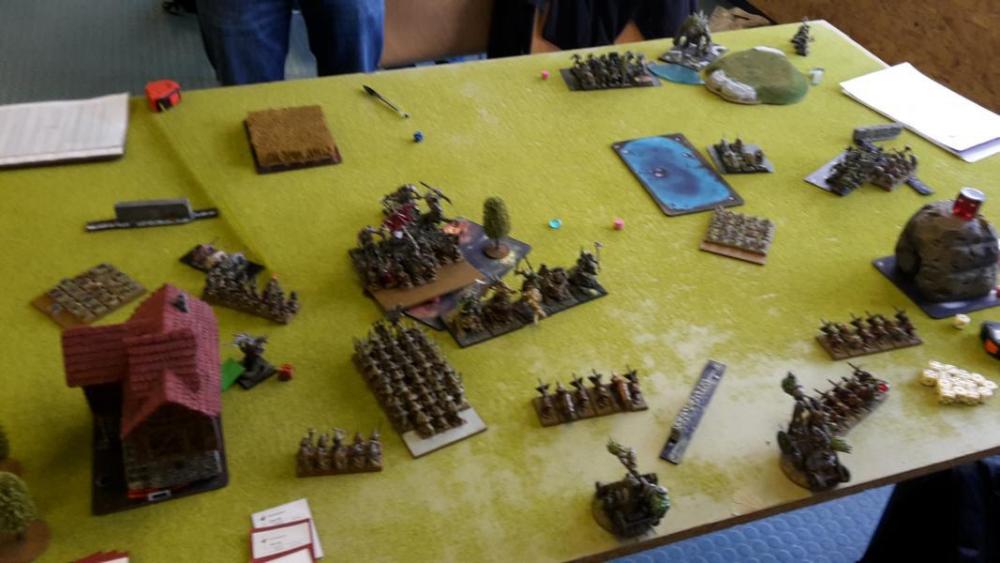
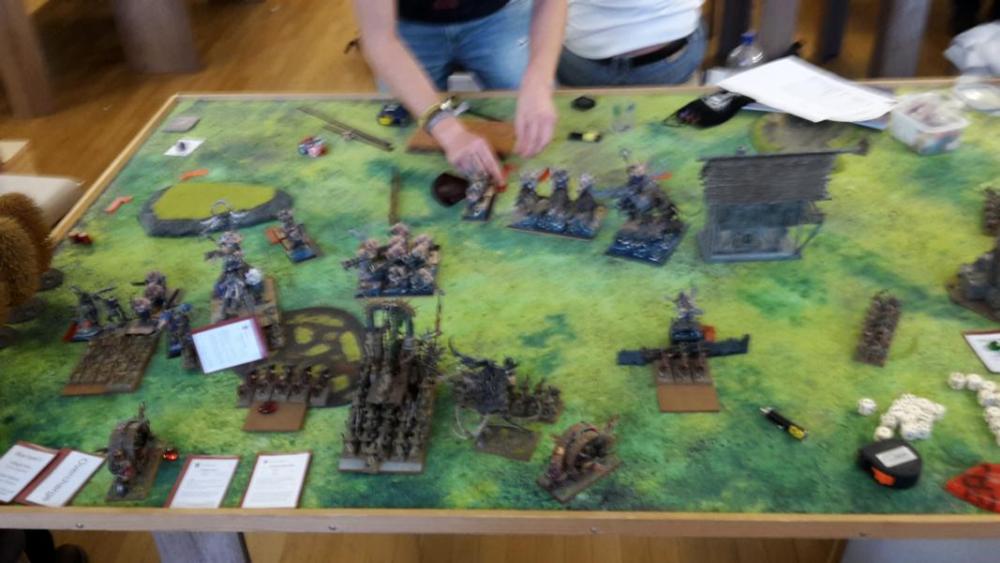
4500 Points vs. Bernhard “Rolan” with VS My List: Vermin Daemon, General Chief, BSB, Light Armour, Sceptre of Vermin Valor, Obsidian Rock, Legion Standard Plague Patriarch, Wizard Adept, Light Armour, Putrid Plate, Plague Pendulum, Plague Flail 10 Footpads 10 Footpads 26 Giant Rats 25 Giant Rats 25 Giant Rats 29 Plague Brotherhood, CSM, Legion Banner 14 Plague Disciples, C 14 Plague Disciples, C Dreadmill Dreadmill 5 Jezails 5 Jezails Rolans’ List: Tyrant, General, Ratlock Pistols Plague Patriarch, Wizard Adept, Plague Flail, Magical Heirloom Plague Patriarch, Wizard Adept, Plague Machinist, Ratlock Pistols Machinist, Ratlock Pistols Chief, BSB, 2x Banner of the relentless Company, Ratlock Pistols Chief, Ratlock Pistols Chief, Ratlock Pistols Chief, Ratlock Pistols 12 Footpad, Paired Weapons, M 12 Footpad, Paired Weapons, M 12 footpads, Vanguard, Paired Weapons, M 50 Plague Monks, CSM, Banner of the endless Swarm 15 Plague Disciples, C 15 Plague Disciples, C Plague Catapult Plague Catapult 6 Jezails 6 Jezails 5 Jezails Deployment: Frontline Clash Secondary: Breakthrough (Picture after my movement) VS Rolan f.l.t.r.: Disciples, Footpads Footpads (vg), Jezails, Disciples + all 9 Heroes, Catapult, Monks, Jezails, Jezails, Footpads, Catapult VS Moe f.l.t.r.: Disciples, Footpads, Footpads, Dreadmill, Giant Rats, Jezails, Daemon, Pendulum, Disciples, Jezails, Giant Rats, Dreadmill; Giant Rats Round 1 VSM: I move up to the forest on the right and my middle unit of giant rats to a possible flank position. On the left the disciples move up. In magic he scrolls my “unerring strike” which was a big mistake as I get of “portent of doom” now on his bunker which means a permanent -10 to combat result. Shooting just kills one jezail. Round 1 VSR: (no picture) Here he does a second mistake as he does not jump to the other disciple unit with his characters. His character unit moves to the forest. Magic and shooting kills some monks and my daemon looses 2HP. Round 2 VSM: Now or never. I charge the pendulum in the front and my giant rats in the flank of his bus hoping for the best. Else my right disciples charge the footpads with a potential overrun in his second disciple unit. My left footpads move around the impassable terrain. In magic he scrolls the “portent of doom” this time which was the best he could do. He then dispels a “scrying” but I get of “breath of corruption” on my pendulum. “Hand of glory” gets also dispelled. Shooting does not much this turn. My right dreadmill hits the jezails 3 time but then rolls three 1s. The left shoots of 2 disciples. In combat my disciples easily kill the footpads but run short for the disciple unit. The main fight was a massacre. All my monks and a lot of giant rats died and after counting I had 10 kills + 1 wound on a chief, charge, big flank and one rank = 14 and 10 from portent of doom so 25. He had a total of 23 kills + 1 banner so we were at tie at that moment. Then I did my breath weapon from “breath of corruption” which killed another 3 disciples. So I won by 3. As the monks where in 6” he got +3 from their ranks and rolled a 7. He was laughing luckyly. But only for a moment. Because he lost to many fearless models he was not fearless anymore so the -1 from fear from my pendulum made his roll fail. His reroll then showed an 11 and I catched this ugly deathstar in the overrun. That was about 2500 points in that unit (including 200 for general and BSB each) Round 2 VSR: (no picture) My opponent was shocked what happened last turn. He declared a charge with his disciples in my disciples and wiped them out with the agility advantage. Else he moved killed my giant rats with his monks in the overrun. The disciples reformed to look towards my scoring footpads which I planed to send to his deployment zone on the left flank. Round 3 VSM: (no picture) My dreadmill charged into the footpads on the right and I failed a charge with my left giant rats in the disciple unit. The right giant rats tried a charge in the right jezail unit but failed. My disciples on the left charged the footpad unit there and killed them. They then reformed toward the left jezail unit. In magic my daemon killed some disciples. My dreadmill was not able to kill the footpads on the right so we sticked there. Round 3 VSR: He tried a charge with his disciples in my giant rats but failed. His monks moved up to score and kill some jezails. Shooting put another 2 wounds on my daemon. Round 4 VSM: I charged my daemon in his disciple unit, my footpads in the left jezails and the giant rats on the right in the jezails there. Then I marched my footpads forward to score but kept them out of LOS of the catapults. Magic gave me an “scrying” on my daemon. I combat I won all 4 fights easily and overran in the right catapult. My daemon suffered his 5th wound from a lucky toxic hit. Endgame : He managed to shoot my daemon with his last jezail unit also I had “scrying” up but that is Ok. He also killed on of my jezail units and got half points of the other unit as I fled. Everything else was killed by my troops. In the end it was a 17:3 win for my rats. Conclusion: The shooting death star is pervert. From the beginning, my plan was to kill as many disciples as possible with shooting and magic to remove fearless from them. In the end it worked out but it was a very close thing. My second plan was to walk my 2 scoring footpads along the flank bodyguard by a disciple unit and a dreadmill. That plan worked also perfect. “Portent of Doom” won this match for me and it was perfect to cast of a deathstar with 9 characters inside. I think my opponent should have changed the disciple units with all heroes after portent of doom came through but he was too confident that the unit would make enough damage with all the attacks and breath weapons. I think next time he will.


-
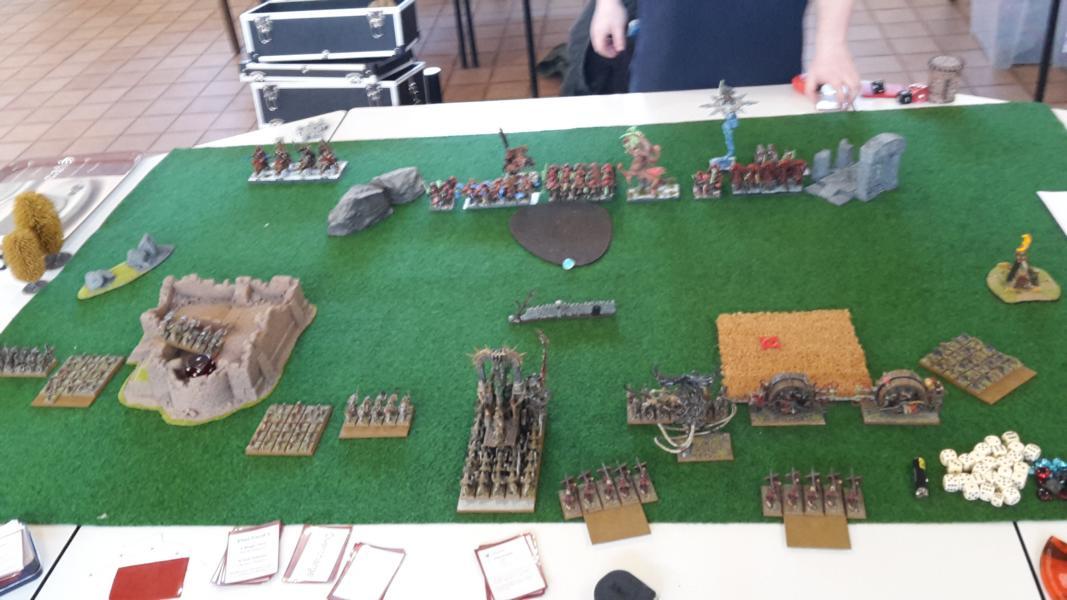
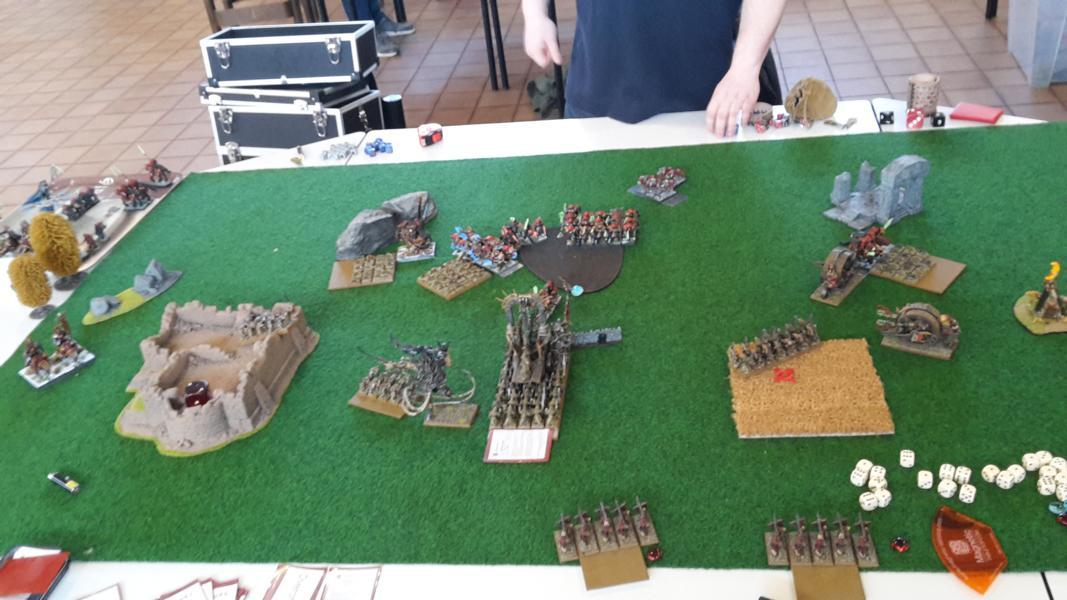
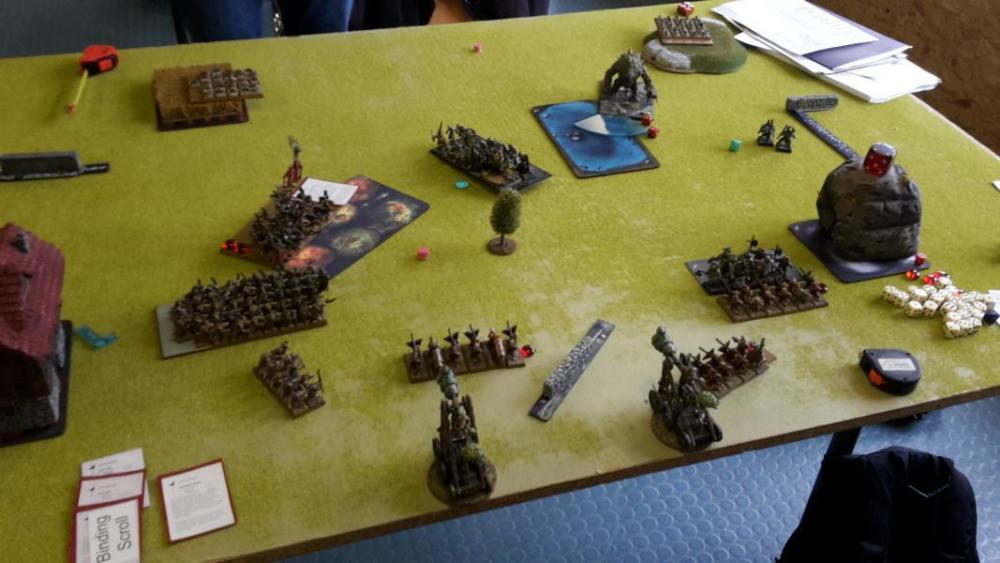
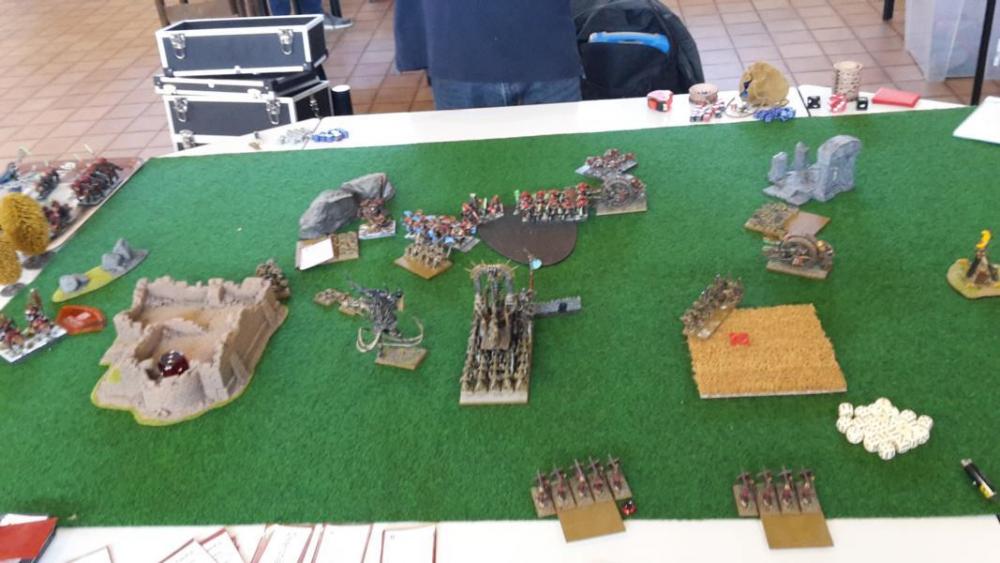
4500 Points vs. Björn “PriestofSigmar” with O&G My List: Vermin Daemon, General Chief, BSB, Light Armour, Sceptre of Vermin Valor, Obsidian Rock, Legion Standard Plague Patriarch, Wizard Adept, Light Armour, Putrid Plate, Plague Pendulum, Plague Flail 10 Footpads 10 Footpads 26 Giant Rats 25 Giant Rats 25 Giant Rats 29 Plague Brotherhood, CSM, Legion Banner 14 Plague Disciples, C 14 Plague Disciples, C Dreadmill Dreadmill 5 Jezails 5 Jezails PriestofSigmars’ List: Iron Orc, BSB, Paired Weapons, Great Weapon, Shield, Ghostly Guard Shaman, Wizard Master, Thaumaturgy, Boar Chariot, light Armour Goblin King, Gargantula, Great Weapon, Supernatural Dexterity, Dragon Staff 20 Orcs, Bows, M 20 Orcs, Bows, M 30 Moshaz, CSM, Flaming Standard, Spears, Shields 21 Iron Orcs, CSM 15 Gnashers Gnasher Wrecking Team Gnasher Wrecking Team Skewerer Skewerer Git Launcher, Orc Overseer Git Launcher, Orc Overseer Great Green Idol Deployment: Diagonal Secondary: Capture the flag (picture after movement of O&G) O&G f.l.t.r.: Gnashers, Orcs, GGI, Shaman, Git Launcher, Iron Orcs, Git Launcher, Skewerer, Goblin King on Gargantula, Moshaz, Wrecking Team, Skewerer, Wrecking Team, Orcs VS f.l.t.r.: Giant Rats, Footpads, Disciples, Dreadmill, Pendulum, Daemon, Footpads, Jezails, Dreadmill, Giant Rats, Disciples, Jezails, Giant Rats Round 1 O&G: The orcs start and move not except for the wrecking teams. In magic (phase1) my opponent rolls 5 dice on a comet and is locky he does not roll a trippel 4,5 or 6. The comet lies in the forest in front of my pendulum. Shooting kills some giant rats and 2 jezails Round 1 VS: As my opponent won’t move, I push forward in the middle and on the right. Magic does 3 wounds to the GGI with a “fates judgement” and kills the left wrecking team. Then the comet comes down but has only a small range and kills some monks and some disciples. In shooting I fail totally and can’t kill the second wrecking team. Round 2 O&G: He comes forward a bit on the left with the gnashers and the orcs else there is not much movement. In magic he again rolls 5 dice on a comet and I can’t stop it. Shooting killed 2 more jezails and some giant rats who pass their panic check. One of the dreadmill also suffers 4 wounds. Round 2 VS: I charge my giant rats in the gnashers and a second unit in the moshaz. The disciples failed their charge in the gnashers but the seond unit got into the bow orcs on the right. I now move my jezail and my wounded dreadmill out of LOS to keep half points there. In magic I kill the GGI with an “unerring strike” followed by “marked for doom”. In combat I fluff totally against the gnashers (only 1 wound), loose huge but stick. My second unit also looses against the moshaz but also stick there. Round 3 O&G: (no picture) Not much movement again but a third try of a comet which did roll high enough. But the one from last round comes down and kills some more disciples and monks. Shooting then kills some more monks. In combat both my giant rats units loose and flee and the gnashers and the moshaz persue them. On the right I get away, on the left the gnashers catch my. Round 3 VS: As the gnashers show me a beautiful flank, I charge the disciples in there. On the right, my dreadmill drive out of LOS of the moshaz, my disciples come back and threaten the skewerer. On the bttom I move my last unit of footpads towards safety to not loose the secondary. My other unit was shot down before. In magic I put 2 wounds on the gargantula. The dreadmill then does nothing as so often. In combat I wipe out the gnashers and face now the bow orcs. Round 4 O&G: The moshaz turn around and also the goblin king on spider looks towards my disciples. Magic brings the next comet. Shooting kills all but 4 disciples on the bottom left. Round 4 VS: I charge my disciples in the skewerer and move my pendulum and daemon forward. The footpads hardly reached the safe spot behind the hill. Magic and shooting can only put 2 more wounds on the spider. In combat I kill the skewerer and overrun in the spider. Round 5 O&G: The moshaz charge my giant rats the rest still backs up. In magic the spider gets a breath weapon the comet comes down and kills some more monks. In combat my giant rats loose and run and also the disciples can’t put a single wound on the spider and are wiped out. Endgame: I kill the goblin king with magic and shooting and his mage finally dies on triple 6s with 4 dice in round 6. In the end I kill some more points and we share the secondary. So it’s a small win 11:9 for my rats. Conclusion: It was perfect for this shooty list that our deployment was diagonal. I had to come to him while comet and catapults came down on me. In the end I was a little more lucky and took the small win.


-
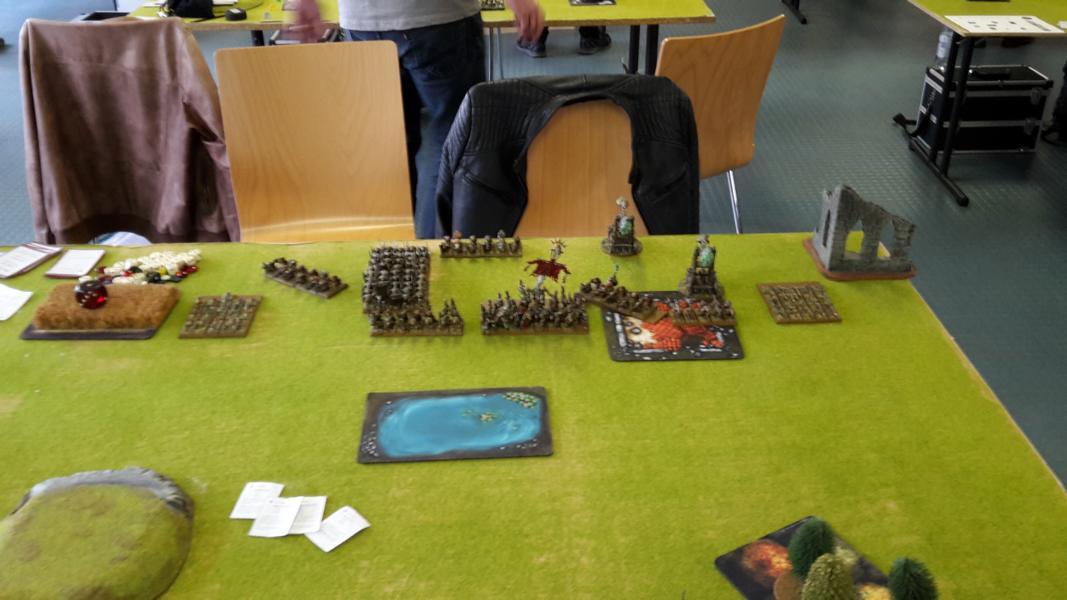
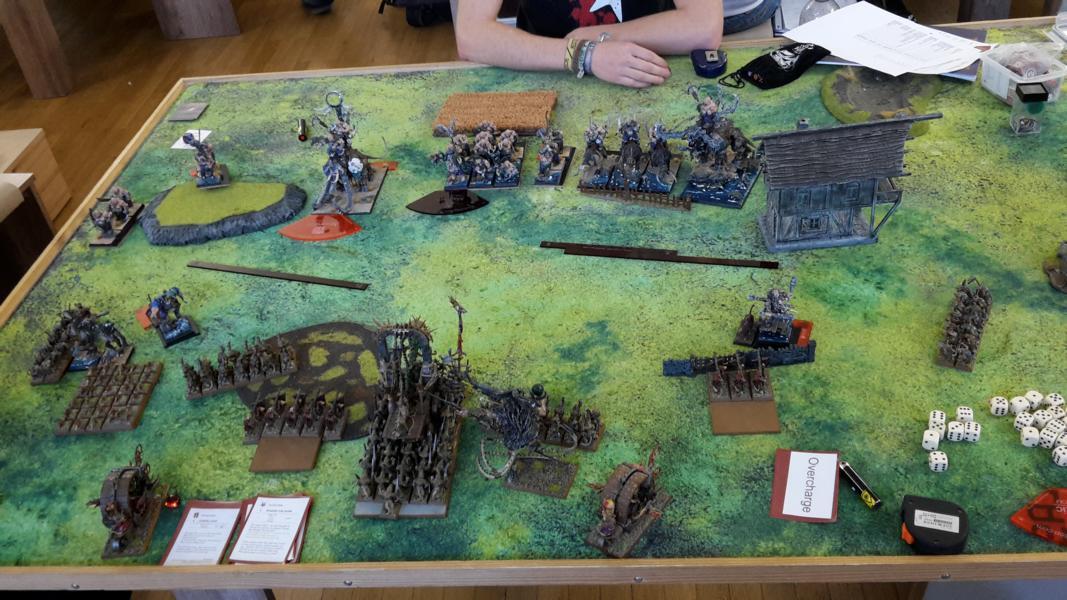
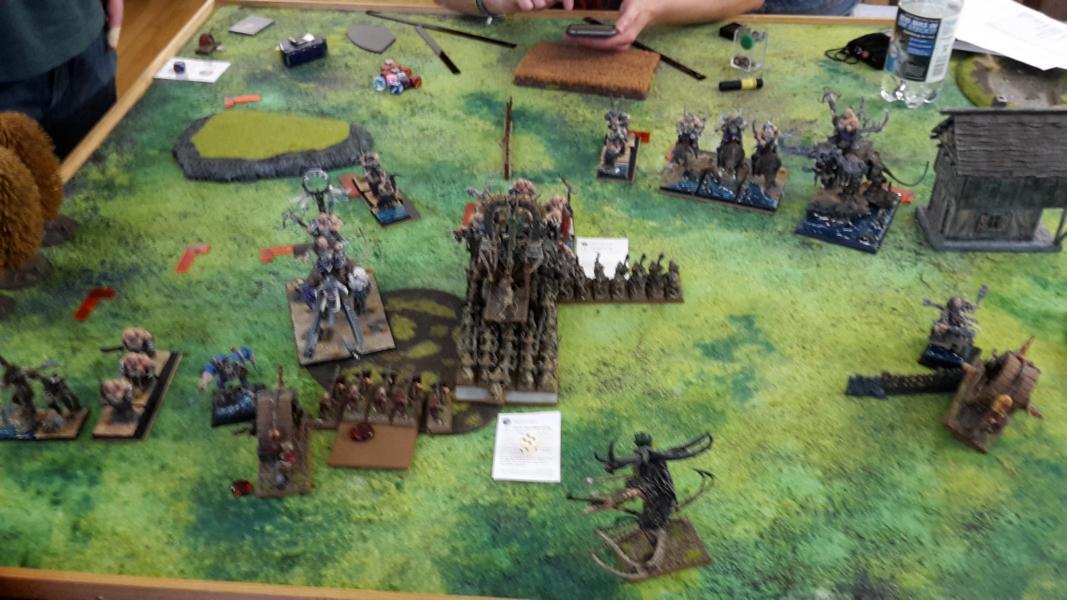
4500 Points vs. Christian “Torek_dun” with WodG My List: Vermin Daemon, General Chief, BSB, Light Armour, Sceptre of Vermin Valor, Obsidian Rock, Legion Standard Plague Patriarch, Wizard Adept, Light Armour, Putrid Plate, Plague Pendulum, Plague Flail 10 Footpads 10 Footpads 26 Giant Rats 25 Giant Rats 25 Giant Rats 29 Plague Brotherhood, CSM, Legion Banner 14 Plague Disciples, C 14 Plague Disciples, C Dreadmill Dreadmill 5 Jezails 5 Jezails Torek_duns’ List: Chosen Lord, General, Warband Standard, Pride, Karkadan, Luck od the Dark Gods, Talisman of Shielding, Burning Portent Sorcerer, Wizard Master, Sythed Skywheel, Destiny’s Call, Magical Heirloom 5 Fallen 5 Fallen 20 Warrionrs, Pride, CSM, Banner of Speed 10 Chosen, Sloth, Halberd, CSM, Wasteland Torch 4 Chosen Knights, Greed, CSM, Banner of Speed 5 Warhounds 5 Warrior Knights, M Forsaken One Deployment: Counterthrust Secondary: Hold the ground WodG f.l.t.r.: Chosen Knights, Fallen, Chosen, Chosen Lord, Warriors, Forsaken One, Fallen, Sorcerer, Knights, Hounds VS f.l.t.r.: Disciples, Giant Rats, Footpads, Giant Rats, Footpads, Pendulum, Jezails, Disciples, Daemon, Dreadmill, Jezails, Dreadmill, Giant Rats Round 1 VS: My opponent dropped first but gave me turn 1. Big mistake as his sorcerer was placed too open and in range of my daemons spells and both my jezails. I pushed all my units forward a bit. In magic I put 2 wounds to the sorcerer and shooting managed the last wound. No more magic for the warriors. I also killed a wasteland knight. Round 1 WodG: He charged his chosen knights in my disciples and the wasteland knights in my giant rats. The forsaken one pushed forward, the rest only came forward a bit. No magic, no shooting so CC next. The chosen knights ran my disciples down in the overrun but lost 8 wounds. Fair trade. The wasteland knights lost one to my rats which hold on their own leadership. Round 2 VS: I charge my Giant Rats in his chosen lord to bind him there for some time. One of the dreadmills charges also the flank of the knights. Magic and shooting kills now the Forsaken One. In combat my dreadmill fluffs. 3 hits followed by three 1s. But the rats kill one knight and we stick there. My giant rats hold against the chosen lord but he reforms to have them in the front next turn. Round 2 WodG: The chosen charge my chaffing rats and the fallen chaff my pendulum. The chosen knights turn there face towards the ruin. In combat I loose some more rats to the CL but stick once more. The dreadmill this time kills 2 knights and the giant rats catch them in the overrun. The chosen win big against the giant rats but don’t persue them. Round 3 VS: The pendulum charges the fallen and the footpads come up to chaff the chosen. On the right my dreadmill charges the flank of the warriors and the giant rats fail their charge in the dogs. In magic and shooting I’m not able to kill the fallen so they can chaff me next turn. The chosen lord now kills all giant rats and reforms towards my daemon. My dreadmill kills 2 warriors and takes one wound back but the warriors hold and reform. Round 3 WodG: The chosen lord charges my daemon and the chosen my footpads. In combat the chosen beat my footpads but don’t overrun. My dreadmill again wins combat but the warriors stick. The chosen lord fluffs as does my daemon but the karkadan puts 2 wounds on my daemon. I test and roll a 9 which is ok as I’m steadfast. First we forgot (that’s why my daemon has 5 markers on next photo). Round 4 VS: The pendulum charges the second fallen unit, my giant rats the dogs, my second dreadmill the warriors and on the left I chaff the chosen again with the giant rats that survived 2 rounds before. Magic buffs my daemon with distracting. In combat I win all fights, kill the chosen lord and the dogs. The warriors kill one dreadmill but loose all but 5 of them. Round 4 WodG: The chosen again have to chargwe my chaff and the chosen knights go into my daemon. The daemon then fails to kill the champion (did 3 wounds) and the chosen knights stick. My dreadmill finally finishes the warriors and reform to face the chosen. Endgame: Pendulum, giant rats and dreadmill charge the chosen and wipe them out. The daemon finally kills the champ of the chosen knights and catches the fleeing knight. Game over for the warriors. As I also get the secondary it a clear 20:0 win for my rats. Conclusion: It was a gift to have the sorcerer that free in front of all my shooting and to kill him turn one. Else I had enough chaff to keep the chosen out of any important combat till I finished all the rest.


-
Blood and Bones Ligamatches 2019 (T9A) - Ein Sturm zieht auf...
badboy81 antwortete auf Srath Vagas's Thema in Schlachtberichte
15 disciples mit 9 helden, davon 7 mit ratlock pistols, die atemwaffen von den maschinisten, 2 adepten seuchenpriester und 2x15" marschbanner. Glaubt mir, da wollt ihr nicht rein. Heute kommt wahrscheinlich noch der Bericht vom Spiel 1 gegen Chaoskrieger online. -
Blood and Bones Ligamatches 2019 (T9A) - Ein Sturm zieht auf...
badboy81 antwortete auf Srath Vagas's Thema in Schlachtberichte
Sascha hatte ich überlesen und Raimund kommt sicher mit Ratten. Wäre schon überraschend, wenn nicht. Go VS! Hatte letztes WE in Saarlouis ein Mirror gegen den Todesstern des Zorns. Schlachtbericht kommt die nächsten Tage. Ich sag nur: Der NK ging so etwa 26:23 aus... -
Blood and Bones Ligamatches 2019 (T9A) - Ein Sturm zieht auf...
badboy81 antwortete auf Srath Vagas's Thema in Schlachtberichte
Eher 2 Ratten und 1 Dunkelelf. Daemonic wird eher Dämonen bringen. Dafür aber viele WodG. -
4500 Points vs. Christian “Raist” with OK My List: Vermin Daemon, General Chief, BSB, Light Armour, Sceptre of Vermin Valor, Binding Scroll Plague Patriarch, Wizard Adept, Light Armour, Putrid Plate, Plague Pendulum, Plague Flail 14 Footpads, M, Paired Weapons 14 Footpads, M, Paired Weapons 11 Footpads, Vanguard 30 Giant Rats 30 Plague Brotherhood, CSM, Legion Banner 14 Plague Disciples 14 Plague Disciples Dreadmill Dreadmill 5 Jezails 5 Jezails Raist’s List: Shaman, General, Magical Heirloom, Wizard Master, Thaumaturgy Khan, Hoardmaster, Basalt Infusion, Lygur’s Tongue, BSB Mammoth Hunter, Trolleater, Wrestler’s Belt, Iron fist, Leader of the Pack Mammoth Hunter, Spinesplitter, Death Cheater, Iron Fist, Leader of the Pack 3 Bruisers, M 3 Bruisers, M 3 Tribesman 8 Tribesman, Iron Fist, CSM, Skull of Qenghet Sabretooth Tiger Sabretooth Tiger 2 Yetis 3 Tusker Cavalry, M, Great Weapons Rock Auroch, Ogre Crossbow Rock Auroch, Ogre Crossbow Deployment: Marching Columns Secondary: King of the Hill OK f.l.t.r.: Tribesman, Yetis, Hunter + Sabretooth, Bruisers, Auroch, Bus + BSB + Mage, Bruisers, Tuskers, Auroch, Hunter + Sabretooth VS f.l.t.r.: Footpads, Giant Rats, Dreadmill, Disciples, Jezails, Pemdulum, Disciples, Daemon, Dreadmill, Jezails, Footpads, Footpads Round 1 OK: (no picture) Both hunters vanguard directly in front of my jezails and stay out of LOS of my disciple units. Also the yetis come up far. Magic and shooting kill 2 jezails. Round 1 VS: In my turn I could have run both dreadmills in the hunters but decide not to do that. My only charges are footpads and giant rats in the yetis. Else I back up. Magic takes 2 HP from a Rock Auroch and shooting another 2. Both hunters are hit by the jezails but their ward/regen holds. In combat I loose due to fear and my footpads flee of the table. Round 2 OK: Both hunters charge (disciples and jezails) and also the left Auroch goes into my disciples. The rest moves up in position. Magic does not much and in combat I loose all fights. My disciples are wiped out and so are the jezails on the right. The hunter overruns in my dreadmill and the Auroch fails to overrun in the jezails. Round 2 VS: I now charge my pendulum and my disciples in the bus and my dreadmill on the right into the hunter. Magic nd shooting does not do anything important. In combat I do not perform well and the bus holds. Both my dreadmills are too hard for the hunters this turn but I also can’t hit well and do not much damage. Round 3 OK: The tuskers join the fight of the pendulum and the Auroch on the right charges my dreadmill to help the hunter. Magic debuffs my pendulum and buffs the bus. In combat my disciples are wiped out but the pendulum holds. My left dreadmill kills the hunter and the right one is killed by the Auroch. Round 3 VS: I charge my daemon in the Rock Auroch. Else there is not much to move left so my dreadmill takes position to shot the tuskers without being in there LOS. Shooting of my dreadmill does not hit a single shot. In combat my daemon kills the Auroch (had only 2 wounds left) and reforms towards the bus. My monks are killed but the pendulum still holds. Round 4 OK: He positions all his units for another charge wave. Else we keep fighting and he puts 4 wounds on my pendulum and kills my BSB. Round 4 VS: I charge my dreadmill in the wounded Rock Auroch and my Daemon in the bruiser who also fight my pendulum. The Auroch is then killed by the Dreadmill, my pendulum by the bus and the bruisers are run down by my daemon. My dreadmill overruns from the plate. The bus is decimated now to 1 tribesman and the BSB. Round 5 OK: He positions all units to be able to charge my dreadmill when it comes back. Endgame: In the last turns I can get some points for the tuskers (fleeing), the hunter (shot by the draedmill) and the yetis. In the end I loose 6:14 as he gets the secondary Conclusion: I should have deployed a little further back to keep some LOS to the hunters with disciples and other units. Also a charge with both dreadmills in turn 1 could have been a good idea. Else this OK list is hard and my opponent played it very well. In the end he missed place 1 by 1 point and I could hold place 3.


-
4500 Points vs. Torsten “gwildor77” with EOS My List: Vermin Daemon, General Chief, BSB, Light Armour, Sceptre of Vermin Valor, Binding Scroll Plague Patriarch, Wizard Adept, Light Armour, Putrid Plate, Plague Pendulum, Plague Flail 14 Footpads, M, Paired Weapons 14 Footpads, M, Paired Weapons 11 Footpads, Vanguard 30 Giant Rats 30 Plague Brotherhood, CSM, Legion Banner 14 Plague Disciples 14 Plague Disciples Dreadmill Dreadmill 5 Jezails 5 Jezails Gwildors77’ List: Knight Commander, General, Horse, Shield, The Light of Sonnstahl Marshal, BSB, Horse, Shield, Death Warrant, Portion of Swiftness Marshal, Great Griffon, Paired Weapons, Shield, Death Cheater, Hero’s Heart Prelate, Horse, Plate Armour, Shield Wizard, Master, Pyromancy, Light Armour, Destiny’s Call 15 Electoral Cavalry, Knightly Orders, Lance, Shield, S, Rending Banner 5 Electoral Cavalry, Lance, Shield 32 Heavy Infantry, Halberd, S, Rending Banner 3 Knights of the Sun Griffon, Lance 3 Knights of the Sun Griffon, Lance Cannon Steam Tank Deployment: Counterthrust Secondary: Hold the Ground EOS f.l.t.r.: Griffon Knightss, Steam Tank, Halberds + Mage, Griffoncommander, Knightbus, small Knights, Griffon Knights VS f.l.t.r.: Footpads, Footpads, Dreadmill, Footpads, Jezails, Disciples, Jezails, Pendulum, Disciples, Dreadmill, Daemon, Giant Rats Round 1 EOS: Empire starts and moves forward a little bit. Shooting is really effective as the cannon takes 3 hP from my pendulum and the steam tank 3 HP from my left dreadmill. Round 1 VS: I move forward on the right flank and also both my disciple units. Daemon stays out of sight from the cannons. Magic kills some knight and so do the left jezails, the right jezails aim for the griffon lord but his ward holds. My left dreadmill takes 2HP from the steam tank. Round 2 EOS: Lots of charges this round. The big bus goes in my pendulum unit, the griffon knights on the right in my giant rats, on the left in my footpads, the 3 knights in my right dreadmill and the griffon lord in the disciples defending the wall. Magic buffs the big bus with a 5+ ward save. This round both cannons don’t hit. In combat the general kills my pendulum exactly but my monks remain steadfast. On the right, knights and griffon knights stick in my units, on the left the griffon knights win against my footpads but can’t catch them. The griffon lord looses only 1 HP, wins combat but does not catch me when I flee. Round 2 VS: I charge my right disciples in the flank of the big bus and the daemon in the front. My disciples in the middle rally. In magic I buff my daemon with scrying. All jezails fire in the close combat of disciples and griffon lord but all 3 or 4 wounds are saved on 6+ armour save and 4+ ward save. In combat I break the bus but can’t catch it. I also win against the griffon knights and the normal knights and kill them in the overrun. Round 3 EOS: The griffon lord again charges the disciples as he did not want to be shot from the jezails in s&s. The decimated bus rallies. On the left the griffon knights reform towards the middle and the steam tank also moves towards the middle. Magic hits my daemon but does no damage. Also both cannons don’t hit my daemon due to hard target from scrying. In combat I do a third wound to the griffon lord and stick. Round 3 VS: The disciples charge again the flank of the bus. I move my giant rats and dreadmill towards the halberds and the cannon and my monks away from the halberds. In magic my heri kills the cannon. Shooting of the jezails finally takes the griffon lord down and the second unit takes 2 HP from the steam tank. I also kill one griffon knight on the left. In combat I beat the bus and the only survivor is the prelate who flees behind the building through the steam tank. Round 4 EOS: The griffon knights turn around towards my dreadmill and the halberds and also the steam tank stay in the centre. Magic burns my disciples away. The steam tank can again not hit my daemon. Round 4 VS: I declare several charges on the halberds and they finally flee from the daemons charge. Their flight brings them on the other side of the table (flee through steam tank, building and prelate). Then I charge them with my footpad unit but fail to catch them by 1”. Magic and shooting do 3 HP to the steam tank and 5 HP to the griffon knights. So 1 model left with 1 HP. Round 5 EOS: This last griffon knight now charges the dreadmill. Steam tank stays here it was and the fleeing unit rallies and reforms 4 wide as my opponent wants to look in the direction of my daemon with his mage and as the footpads are exactly 1” away they can’t go 5 wide. Magic then does nothing and shooting kills my dreadmill. In combat the griffon knight kills my dreadmill before I can hit him and overruns from the plate. Round 5 VS: I charge my remaining 4 footpads in the flank of the halberd unit. On the bottom I move my units to kill the last griffon knight and block the steam tank going into my monks with my giant rats. In magic I buff my footpads with stars align and scrying. Shooting takes the 6th HP from the steam tank. In combat I win by 2 and have exactly 1 footpad left. The halberds flee and the single guy catches them. Good boy J Endgame: The disciples charge the last griffon knight and kill him and my daemon charges the steam tank and kills it too. In the end it is a 16:4 for my rats as we share the secondary. Conclusion: To loose the pendulum hurts but the list can still win the game. The matchup was quite perfect as all my toxic really does kill humans.